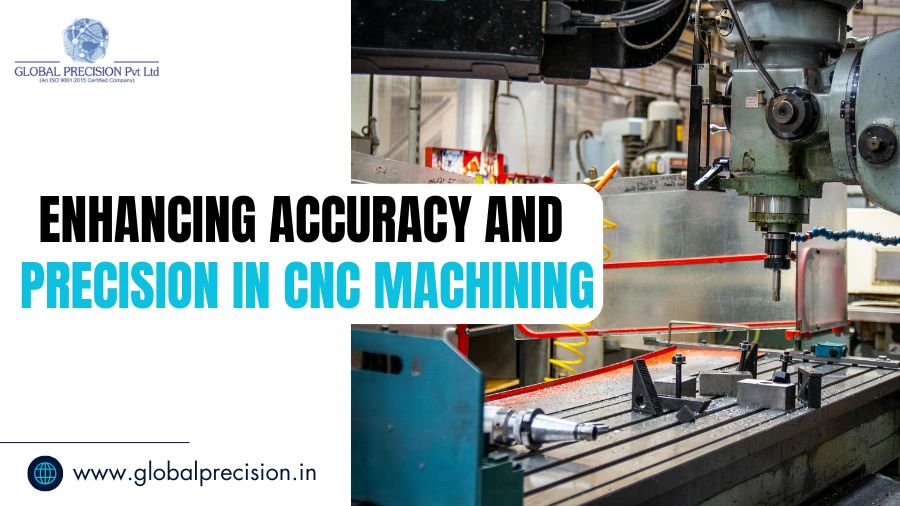
In the manufacturing industry, microns are frequently the deciding factor between a successful and unsuccessful product. In order to produce complex parts that require the highest levels of quality, such as medical devices and aerospace components, modern manufacturing mainly relies on CNC machining (Computer Numerical Control).
CNC machining accuracy is an essential concept that must be mastered in order to meet these demanding requirements. Let’s find out the essential elements, cutting-edge methods, and best practices that manufacturers need to implement in order to produce exceptional outcomes and ensure customer satisfaction.
Table of Contents
What’s The Difference? Accuracy vs. Precision
Understanding the distinction between these two fundamental metrics is crucial before delving into improvement strategies because they concentrate on distinct types of errors.
1. How Near the Target Is Accuracy?
The degree to which the dimensions of a machined part closely resemble the intended or target value given in the engineering blueprint is known as CNC machining accuracy.
- To put it simply – Are you hitting the target?
- The Error – Even if the parts are all the same size, an inaccurate machine has a systemic error (such as a misaligned fixture or a poorly calibrated axis) that causes it to consistently miss the target.
2. Precision (How Repeatable are the Results?)
Precision in CNC machining is the repeatability or consistency of the output. It gauges the proximity of several machined components to one another, even if they don’t precisely match the target blueprint.
- To put it Simply – Do all of your darts land in a tight cluster?
- The Error – Parts that are identical but marginally off the target dimension are regularly produced by a precise but imprecise machine.
The Objective – Both high accuracy (hitting the target) and high precision (hitting the same spot consistently, every time) are necessary for world-class manufacturing.
The Foundation – Controlling the Machine and Environment
The tight CNC tolerance improvement begins long before the cutting tool comes into contact with the material. Strict control over the machine and its operating environment is necessary.
1. Thermal Management – Accuracy’s Silent Killer
One of tight tolerance’s worst enemies is temperature variations. Both the machine tool and the workpiece’s materials expand when heated and contract when cooled.
- The Problem – The issue is that over time, a machine’s spindle may heat up and cause its metal parts to expand by minuscule amounts, or microns. This change is sufficient to cause the final part’s dimension to deviate from a strict tolerance.
- The Solution – Temperature Compensation Systems to detect temperature variations, sophisticated CNC machines employ built-in sensors. The tool path and position are then automatically adjusted in real-time by the control software to account for this thermal expansion. Climate Control is critical to keep the shop floor temperature steady and constant, particularly for highly precise medical or aerospace components.
2. Machine Calibration and Rigidity
The achievable CNC machining accuracy is directly limited by the physical state of the machine.
- Axis Alignment – As a result of wear or mechanical stress, the rotary and linear axes (X, Y, Z, etc.) may eventually become misaligned. Mapping and fixing these geometrical errors requires routine inspections with advanced instruments like ballbar testing or laser interferometry.
- Control of Vibration – In order to absorb vibration, the machine needs to be firmly fixed to a level, sturdy base. Excessive vibration destroys accuracy and precision by causing uneven cuts and poor surface finish.
- Preventive Maintenance – Regular inspections of the lubrication systems, guideways, and spindle bearings stop the mechanical wear that results in dimensional drift.
Tooling and Material Strategy – Optimizing the Cut
Precision is either made or lost at the point of contact between the tool and the material.
3. Choosing and Managing Tools –
- High-Performance Tools – Make use of contemporary cutting tools with cutting-edge coatings (like TiAlN) or materials like carbide that are resistant to wear and heat. A long-lasting, sharp tool keeps its cutting edge longer, guaranteeing precise material removal and tight CNC tolerance improvement.
- Tool Wear Monitoring – To identify the first indications of tool wear in real time, sophisticated CNC systems employ integrated sensors, occasionally visual or acoustic. This ensures constant precision in CNC machining by enabling the machine to either apply compensatory offsets or replace the tool automatically before the wear affects the dimensions.
- Tool Deflection Mitigation – Accuracy is significantly decreased by long, thin tools’ propensity to bend (deflect) under cutting force. This can be mitigated by using the shortest, stiffest tool available and making sure the final depth of cut stays within the material-specific limit (for example, steel’s length-to-diameter ratio cannot exceed 5:1).
4. Material and Fixturing –
- Workholding – Superior clamps, vices, or specially made fixtures must be used to hold the workpiece firmly. The final accuracy will be ruined by even a small movement or vibration in the fixture.
- Material Selection – The programming needs to take into consideration the material’s characteristics, such as its hardness and thermal expansion. While highly abrasive materials will speed up tool wear, softer materials might be more likely to deform.
Programming and Process Refinement
The blueprint for accomplishing CNC quality control is the digital instructions that are sent to the machine.
5. Excellence in CAD/CAM Programming
- Optimized Tool Paths – By utilizing sophisticated CAM software functions such as adaptive strategies, the tool is guaranteed to maintain a steady chip load and material engagement. This greatly improves CNC machining accuracy by lowering abrupt changes in cutting force, which also minimizes tool deflection and thermal spikes.
- Post-Processing Compensation – By implementing micro-adjustments (offsets) in the code, the CAM programmer must take into consideration known process variables, such as the machine’s predictable expansion or the material’s slight spring-back.
- Simulation – Before expensive materials or machine time are wasted, possible errors, collisions, and inefficient movements are found and fixed by running the program through simulation software (a dry run).
6. Design for Manufacturability (DFM)
Achievable tolerance is directly impacted by design decisions –
- Avoid Sharp Internal Corners – To avoid stress concentration and enable the use of larger, more rigid cutters, internal corners should have the largest radius possible.
- Simplify Geometry – Vibration and chip evacuation problems make it challenging to machine precise parts with deep, narrow pockets or extremely thin walls. It is always easier to hold and cut simple, flat geometry to a precise CNC tolerance improvement.
CNC Quality Control and Inspection – The Feedback Loop
Establishing a strong CNC quality control system that offers real-time feedback and enables correction before flaws spread is the last, crucial step.
7. On-Machine Inspection (In-Process Measurement)
Examining the part while it is still clamped in the machine is the most sophisticated technique.
- Machine Tool Probing – Machine tool probing is the process of measuring the dimensions, characteristics, or even the length of the tool itself using probes that are fixed onto the machine spindle.
- Real-time Correction – The CNC program can automatically apply a tool offset correction for the remaining cuts if the probe picks up a small deviation. This provides unmatched precision in CNC machining by preventing a defect from ever leaving the machine bed.
8. Post-Process Verification
After the part is finished, it needs to be checked in a lab with temperature control using high-precision metrology equipment.
- CMM (Coordinate Measuring Machine) – The gold standard is the Coordinate Measuring Machine (CMM). In order to verify intricate geometries and provide objective, traceable data against the blueprint (GD&T specifications), a CMM uses a highly accurate probe to measure the part’s precise coordinates in 3D space.
- Traditional Tools – For fast, regular spot checks, calipers, micrometers, height gauges, and bore gauges are still necessary.
- Surface Finish Testers – Another important metric for CNC quality control, these profilometers measure the surface’s microscopic roughness and texture.
The Continuous Journey to Zero Defect
Accuracy and precision in CNC machining are fundamental requirements in contemporary manufacturing, not optional features. Investing in the newest technology, keeping a controlled environment, improving programming, and meticulously carrying out a thorough CNC quality control plan are all necessary to achieve them.
The best way to minimize waste, cut costs, and ensure product integrity for companies that manufacture critical components is to rely on seasoned experts who live and breathe tolerance, like Global Precision Pvt Ltd.

